
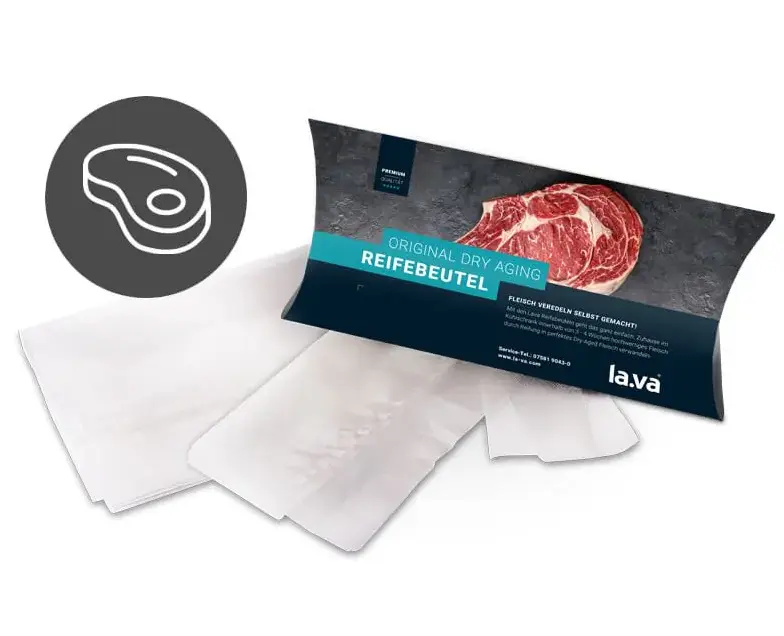
In recent years, the activities of amateur chefs have evolved beyond simply cooking dishes; they have become increasingly conscious of the ingredients they use. The DIY movement has expanded its influence to the realm of meat, with many aspiring to craft homemade Dry-Aged Beef. For those without access to a dedicated aging cabinet at home, the use of “aging bags” offers an opportunity to enhance meat and achieve comparable results. It’s important to note that Dry-Aging within the DRY AGER® setup provides notably superior flavor thanks to bone-in aging and the creation of an ideal aging environment with pathogen elimination!
The Art of Dry Aging: A Step-by-Step Guide
Step 1 – Preparing Meat for Aging Bags
Aging bags, specialized membrane films with one-sided water vapor permeability, come in various sizes. Choose different sizes to accommodate different cuts of meat. It’s important not to force the meat into the bag; leave some space for the upcoming vacuum-sealing process using a high-quality vacuum sealer.
Step 2 – Vacuum Sealing Your Meat
You don’t need to be a professional butcher to handle this step, but a top-notch vacuum sealer is essential for sealing the aging bags. We recommend Lava’s vacuum sealers, direct from the renowned German manufacturer. These devices are known for their exceptional durability and consistently earn “Very Good” ratings in tests. The value of this investment becomes evident quickly, as vacuum sealing extends the shelf life of perishables that might otherwise deteriorate in the refrigerator. Place the steaks in aging bags and store them in a cool location, preferably on a wire rack at the base of the fridge to ensure proper air circulation.
Step 3 – Determining the Ideal Aging Period
How long should you age the steaks in Dry-Aging aging bags to achieve the highest quality? There isn’t a one-size-fits-all answer, as it depends on factors like the initial quality, grade of meat purchased, and various other variables. A recommended timeframe typically falls between 3 and a maximum of 4 weeks – a well-considered choice. During this period, the meat undergoes significant changes in color and develops a richer aroma compared to its initial state, ultimately achieving the coveted Dry-Aged flavor profile.

Essential Tips for Exceptional Dry-Aged Steak
The foundation of an extraordinary Dry-Aged steak starts with the quality of the initial meat. Choosing a budget-friendly cut from a discount store is unlikely to produce the tender and aromatic steak one desires after the vacuum-aging process. This is because the process of wet-aging in a regular vacuum bag can often introduce an unpleasant metallic taste due to elevated lactic acid levels. Additionally, budget-friendly meat often contains added water, which becomes evident when moisture seeps out upon unwrapping. Such cuts are unsuitable for the aging process and offer little potential for significant flavor enhancement.